
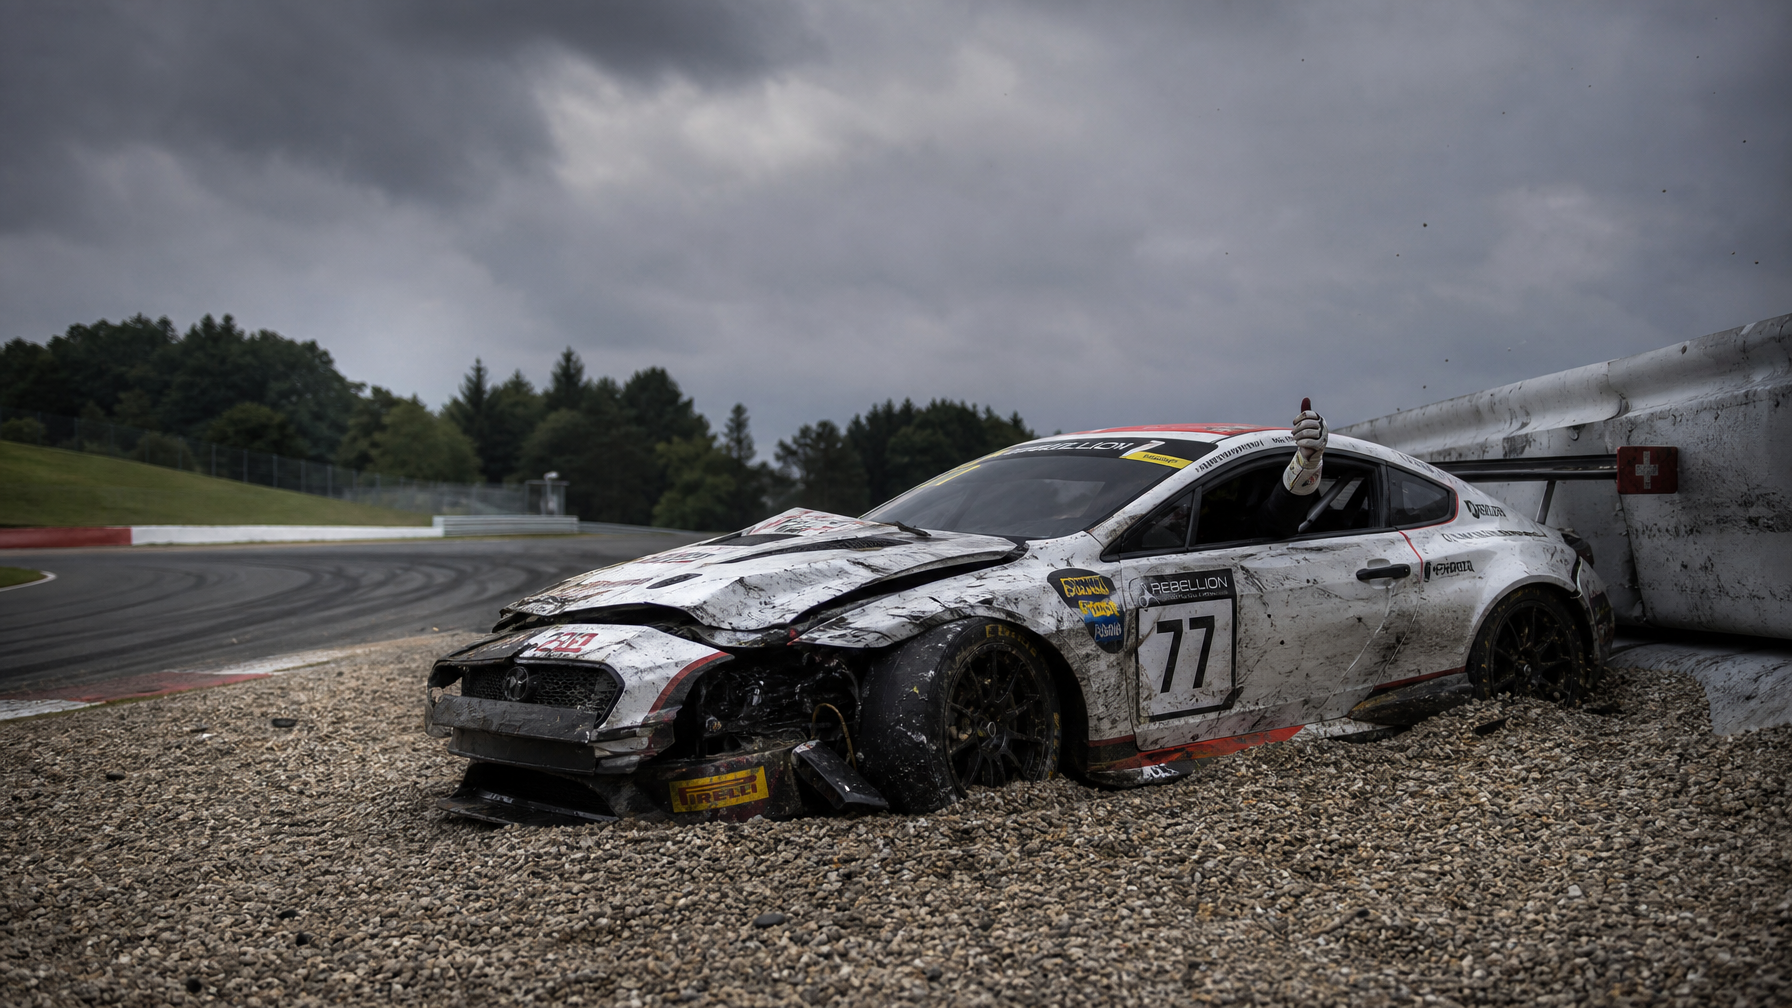
Built to Survive
the Worst
Lap of Your Life.
Custom roll cage fabrication, roll bar installation, harness and safety equipment, and chassis reinforcement — built to sanctioned racing specifications and welded by hands that understand what the cage has to do.
A Roll Cage Is Not a Performance Upgrade.
It's the Last Line Between You and the Consequences.
A roll cage is a load-bearing structure designed to maintain the survival cell — the space around the driver — when a car rolls, impacts a barrier, or launches off track. If it's built correctly, it does that job under loads that would crush the factory body structure in milliseconds. If it's built incorrectly — wrong tube diameter, wrong wall thickness, poor weld penetration, inadequate chassis attachment — it fails at exactly the moment it needs to work.
This is the service where the technical bar is highest and the margin for error is zero. We don't fabricate cages to look good in photos. We fabricate them to meet the structural requirements of the racing series they'll compete in, and the geometry constraints of the driver's specific body position in the specific seat they'll be running.
That last point matters more than most people realize. A cage without a matched harness is incomplete. A harness without a correctly-positioned harness bar is dangerous. A harness bar at the wrong height bends the driver into a position where their spine absorbs loads a correctly-positioned harness would transfer to the seat and cage structure. The cage, seat, and harness are a system. We design and install them as one.
Four Services.
One Goal: You Come Home.
Safety fabrication is a system. A cage without the correct harness bar is structurally incomplete. A harness on a bar at the wrong height is biomechanically wrong. We build these as systems — not menus of individual parts.

A full roll cage is the correct answer for any car that will run wheel-to-wheel racing, time attack events where leaving the road at speed is a genuine scenario, or any build where the driver is pushing a limit where an accident is not theoretical.
We fabricate from DOM mild steel and chromoly 4130, with tube diameter and wall thickness specified by class rules first, physics second. Every cage starts with the main hoop — a continuous bend from floor plate to floor plate over the driver. The A-pillar bar closes the structural triangle. Door bars protect from lateral intrusion. Floor attachment plates are 3/16" minimum, welded with full penetration to both the cage tubes and the car's structure. The cage and the car become one.
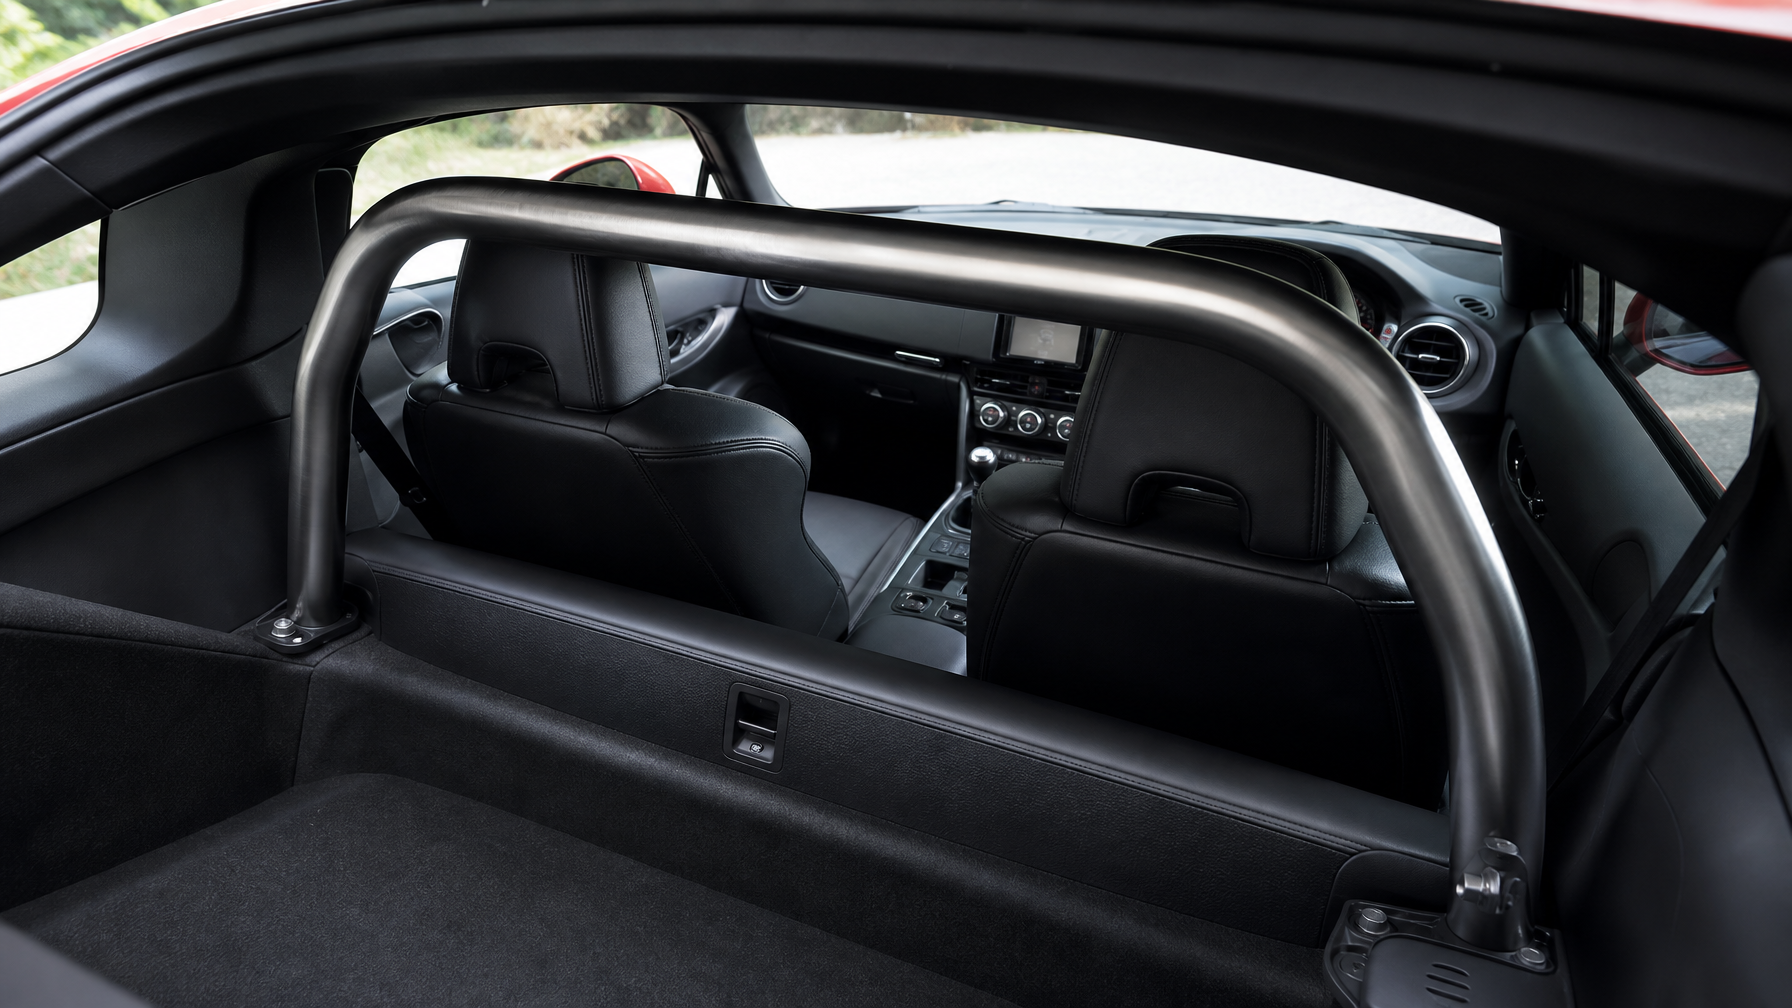
Not every track car needs a full cage — and for HPDE and track day use, a full cage introduces tradeoffs that aren't always appropriate. Full cages require a properly fitted racing seat and harness to be safe. A driver in a street seat with a factory seatbelt inside a full cage is in a worse position than the same driver in a street seat with the OEM structure.
For HPDE and track day builds remaining street-registered, a properly fabricated weld-in roll bar provides significant rollover protection without committing to a full race safety system. Bolt-in bars are appropriate where interior preservation matters, with the clear understanding that weld-in is always the correct answer for serious track use where accident energy is high.
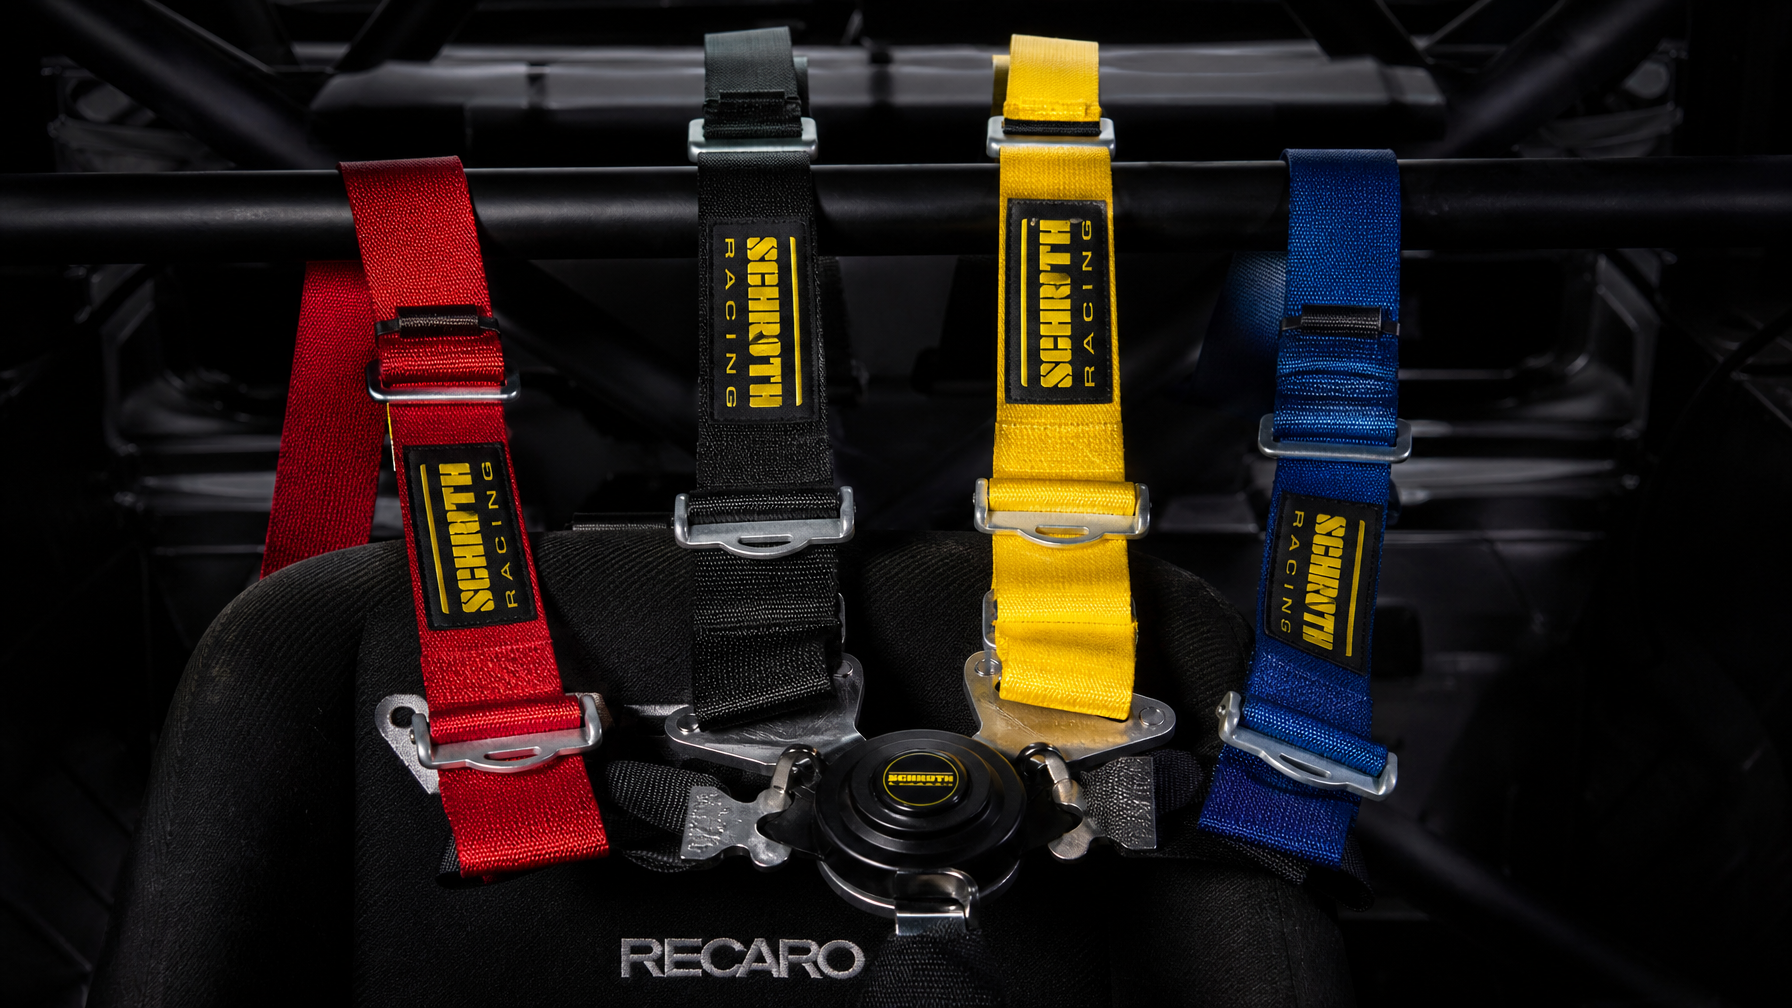
The harness is the most technically specific element of the safety system — and the one most often installed incorrectly. The shoulder straps must exit the seat back and reach the harness attachment point within approximately 3° of horizontal at the driver's shoulders in seated race position. Shoulder straps pulling downward cause submarining in a frontal impact. Too far upward causes spinal loading. Harness bar height is not an aesthetic choice — it's a structural calculation based on the specific driver in the specific seat.
We fabricate harness bars to the correct geometry, install SFI and FIA-rated 5-point and 6-point harnesses, plumb fire suppression systems to engine bay, footbox, and cockpit nozzle positions, install window nets, and apply SFI 45.1 cage padding to all bars within the helmet strike zone.
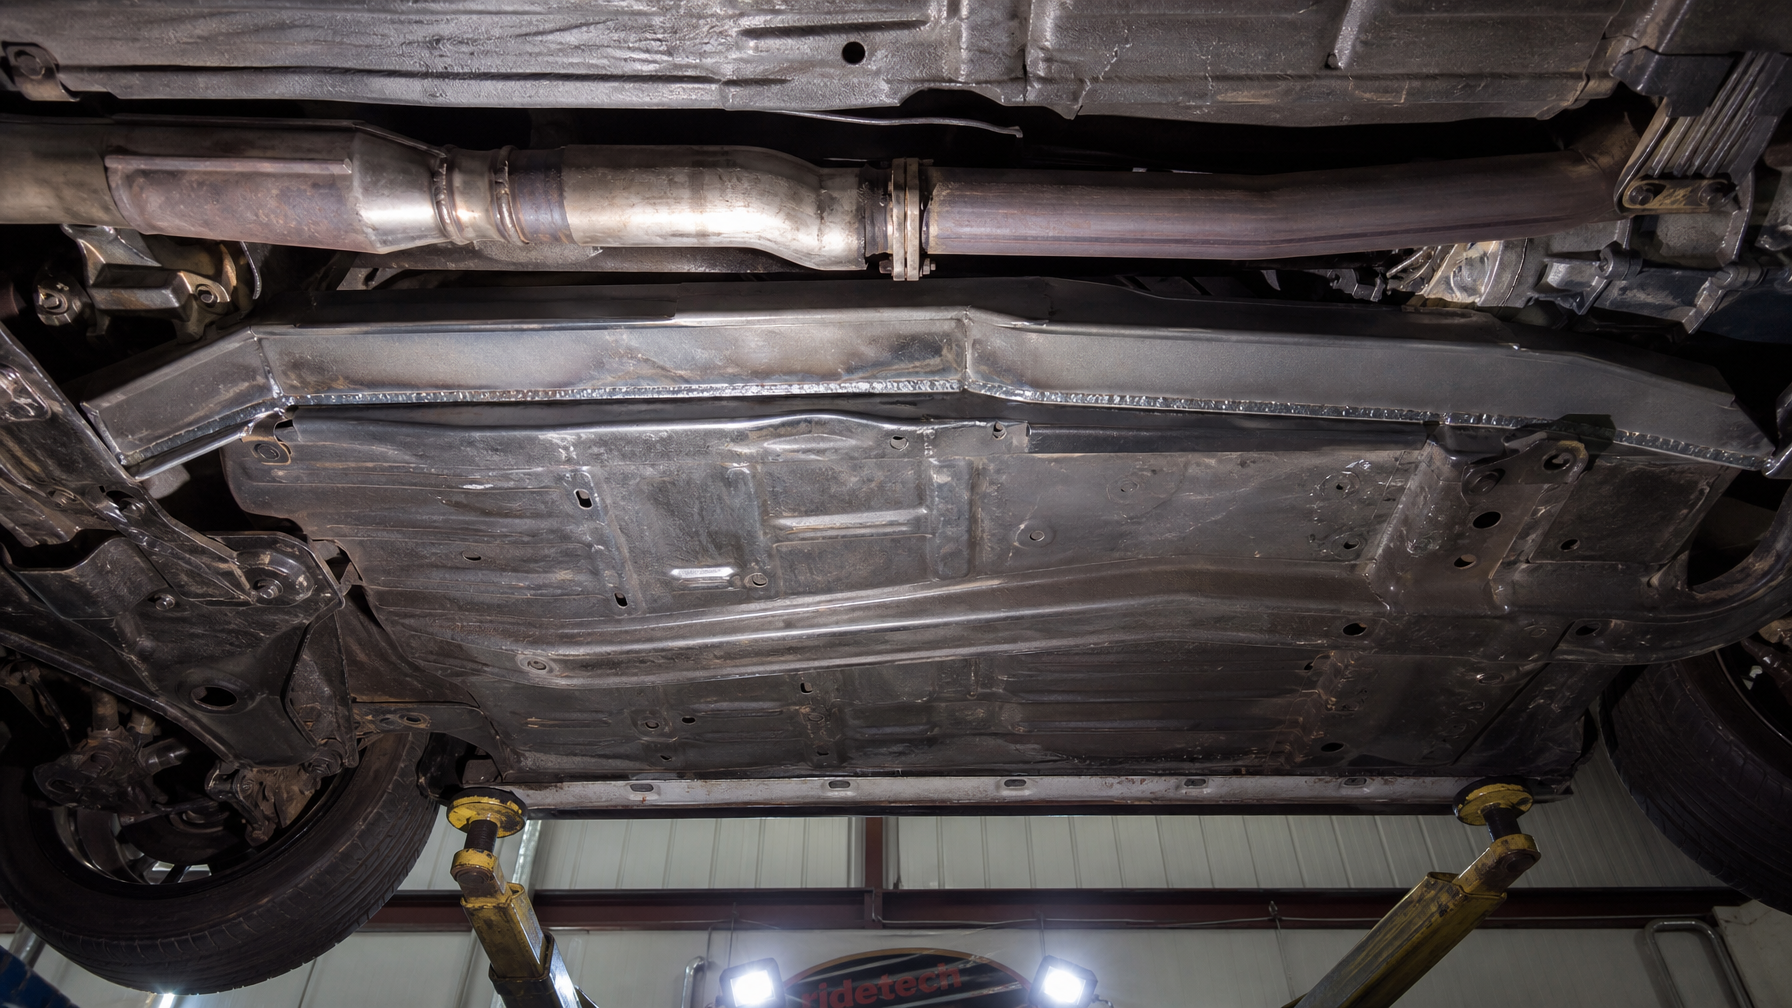
A roll cage attached to a flex chassis transfers its loads into structure that moves under them — partially defeating the purpose. For unibody cars, chassis reinforcement is a meaningful step before cage installation and a necessary one on any car where the cage must perform at the limit.
Subframe connectors tie the front and rear subframe attachment points together, converting the unibody's flexible structure into something closer to a proper frame rail. Floor reinforcement plates at cage attachment points spread loads into a larger area of the floor structure, reducing pull-through risk in high-energy impacts. Custom fabrication — seat mounting plates, battery relocation, fuel cell mounting, fire system brackets — is handled at the same time to avoid later teardowns.
The Rulebook Isn't Bureaucracy.
It's Structural Engineering by Committee.
Every major sanctioning body's cage specification was written after accidents — in many cases after fatalities — that identified structural elements that failed. We build to the current year's rulebook for the specific series the car will run. Not last year's. Not a forum interpretation. The actual document.
SCCA class rules are among the most detailed cage specifications in amateur motorsport. The General Competition Rules (GCR) specify main hoop height, forward bracing requirements, door bar configuration (diagonal vs X-pattern by class), harness bar mounting, and attachment plate minimum dimensions. Club Racing and Time Trials classes have different compliance requirements. DOM mild steel or chromoly 4130 options are available for most classes — minimum tube diameters and wall thicknesses vary by class. We verify the specific class before any material is specified or cut. A cage fabricated for SCCA Spec Miata is not automatically correct for SCCA GT or ITS without class-specific verification.
NASA's General Competition Rules follow a similar structure to SCCA with class-specific addenda that sometimes differ meaningfully. HPDE and Time Trial participants have different cage requirements than Club Race competitors. NASA's High Performance Racing rules specify DOM or chromoly with specific minimum OD and wall thickness by class, plus detailed door bar, harness bar, and attachment requirements. The NASA HP01/HP02 class structure is popular in Houston and has specific cage specs we build to regularly. NASA tech is consistent — a properly fabricated, class-compliant cage passes without modification.
PCA Club Racing and Drivers Education events follow SCCA-based technical standards with Porsche-specific structural considerations. The 911 and Cayman platforms have well-established cage solutions with known attachment points and geometry. PCA tech inspection is thorough — a cage fabricated to PCA specifications will typically pass SCCA tech on equivalent platforms as well. We build to PCA Club Racing specs and can confirm compatibility with the specific PCA region's current tech requirements before fabrication begins. The 911's rear-engine architecture introduces specific main hoop geometry considerations that require platform-specific knowledge to address correctly.
NHRA roll bar and cage requirements are speed-based — the faster the car runs, the more structural reinforcement is required. Cars over 135 mph must have a minimum roll bar. Over 150 mph requires a full cage meeting NHRA specifications. Beyond 180 mph, chromoly construction and more extensive cage structures are required. The NHRA technical rulebook specifies exact tube requirements by ET bracket and trap speed, plus harness requirements, window nets, and fire suppression at each level. If you're building a street car to drag race, the required safety certification level is determined by the car's actual performance — not the performance you plan to run. We build to the level the car will actually achieve.
Every Bar Has a
Structural Purpose.
Here's What Each Does.
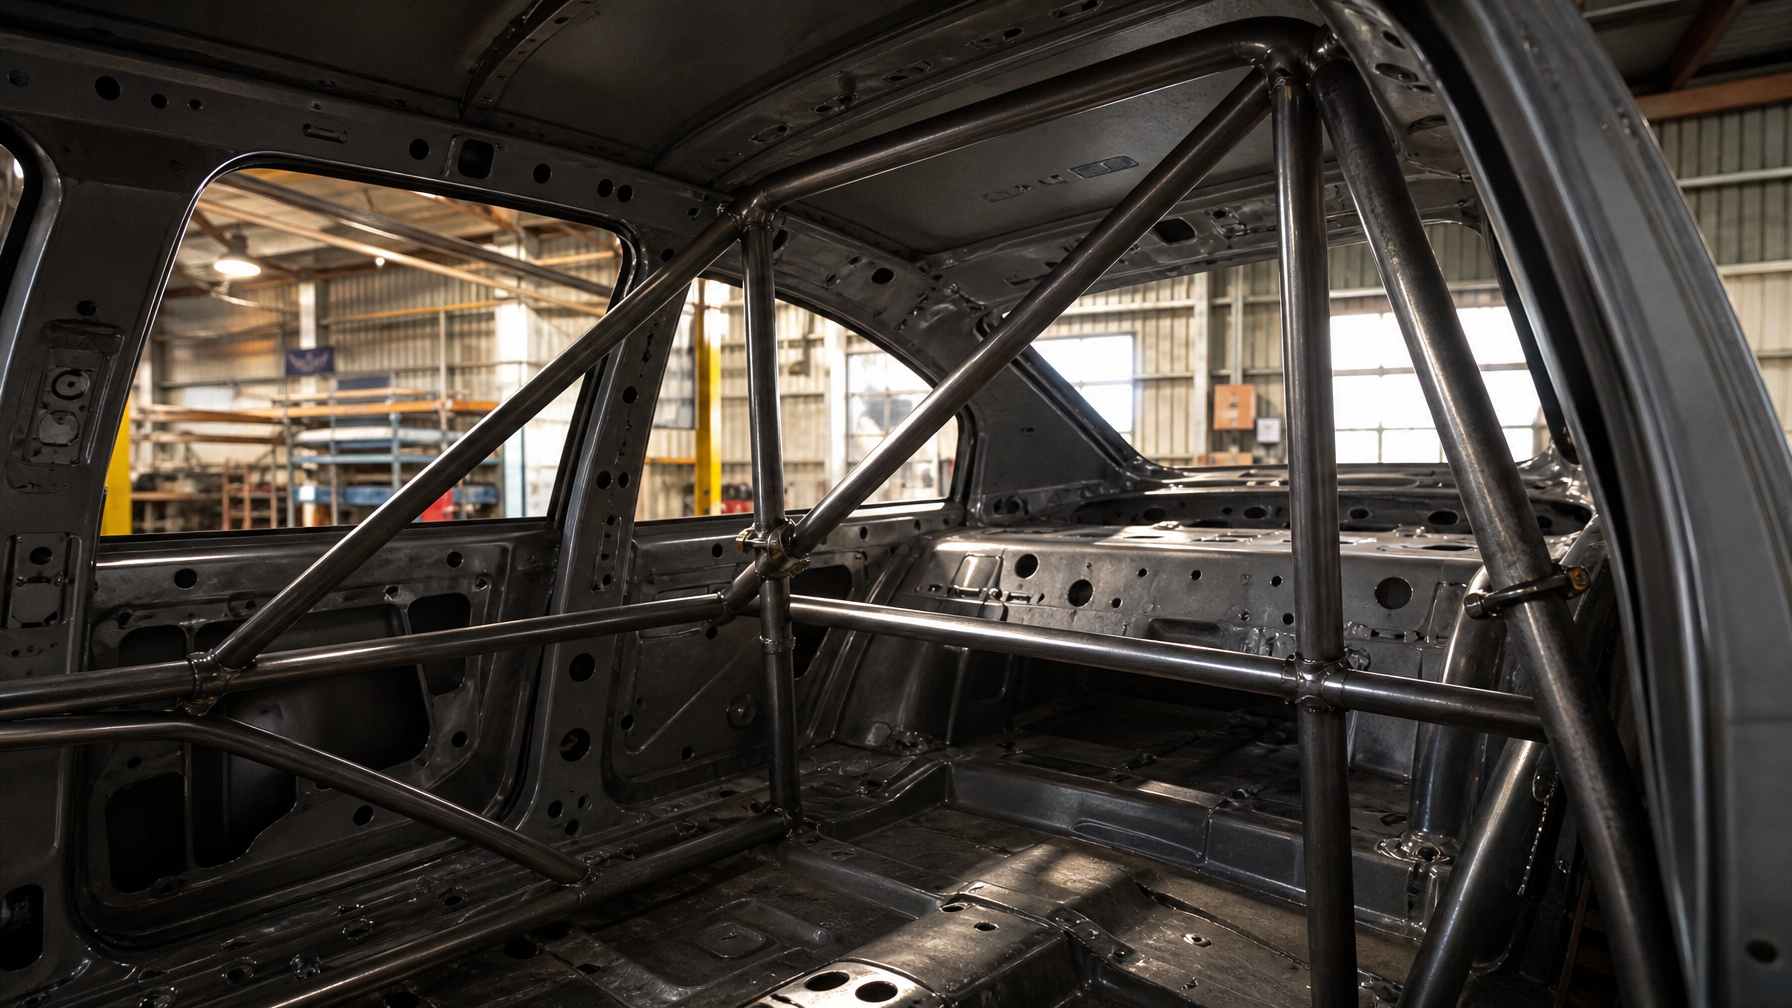
A cage that looks like a cage isn't necessarily a cage that performs like one. The structural logic behind each component matters — here's what each bar is actually doing and why its placement isn't negotiable.
The primary structural element — a single continuous bend of tubing from the floor on the driver's side, over the driver's head, and down to the floor on the passenger side. In a rollover, the main hoop carries the roof crush load that would otherwise collapse onto the driver. Its height must clear the helmet of the tallest driver who will use the car — minimum 2"–3" clearance above the helmet in normal seated race position. Floor attachment plates at the base distribute load into the chassis. These plates are minimum 3/16" steel, welded with full penetration to both cage tube and chassis structure. No tack welds. No bolt-in attachments at the base.
Connects the top of the main hoop to the front chassis structure — typically the base of the windshield, the firewall, or the front strut towers depending on class rules and platform. It closes the structural triangle between the main hoop and the front of the car, dramatically increasing resistance to fore-aft deformation during frontal impact or a front-to-rear tumble sequence. Without the A-pillar bar, the main hoop can rotate forward under longitudinal load — effectively collapsing toward the driver. This is why open-face cages have essentially no application in competition. The A-pillar bar is not optional regardless of what any forum post suggests.
Protect the driver from lateral intrusion — the direction where a production car's door provides the least protection. A T-bone impact, barrier contact on the driver's side, or door-opening roll sequence would put significant lateral load directly into the driver's torso without door bars. Door bars run horizontally between the main hoop and the A-pillar structure, crossing through the door opening on the driver's side. Two configurations: X-pattern provides multi-directional protection; NASCAR-style diagonal provides similar protection with easier entry and exit. Class rules often specify which configuration is permitted — we verify before fabrication, not during tech inspection.
Where the shoulder straps of the race harness attach. Its height is not arbitrary — shoulder straps must exit the back of the seat and travel to the bar at no more than 3° above horizontal at the driver's shoulders in race position. Too low and the straps pull the driver's shoulders downward, creating a submarining risk in a frontal impact. Too high and the strap angle increases spinal loading during deceleration. The harness bar is also a structural element — it closes a secondary structural loop at shoulder height, contributing to the cage's resistance to rotational deformation during a roll. We position the harness bar using actual driver measurements in the actual seat. It is not a default placement.
Additional bracing above the main hoop — roof X-bars, side roof rails, and diagonal bracing — converts the rectangular frame sections of the cage into triangulated structures. A cage without triangulated roof bracing behaves like a box frame under torsional load: the corners can deform without the walls buckling because the shape has no geometric resistance to parallelogram deformation. Adding diagonal bracing creates triangles, which are geometrically rigid and cannot deform without changing the length of a member. Class rules specify minimum triangulation requirements; purpose-built race cars often go beyond the minimum based on structural analysis and the expected nature of on-track contact in the series.
The cage is only as strong as its attachment to the chassis. Floor attachment plates — minimum 3/16" steel, typically 4"×6" or larger — distribute point loads from cage tube ends into a larger area of the floor structure. These plates are welded to the cage tubes with full penetration welds and then welded to the car's floor structure. On unibody cars, additional reinforcement plates are often welded to the floor underside, sandwiching the floor sheet metal between two plates to prevent pull-through under high loads. The integrity of this attachment is what makes the difference between a cage that performs in an accident and a cage that looked correct before one happened.
The Cage, Seat & Harness
Are One System.
Changing One Changes All Three.
A roll cage installed in a car with a street seat and a factory three-point seatbelt is not a safety upgrade — it's a hazard. In a rollover, the driver's body is restrained by the three-point belt at the hip and shoulder, but the upper torso can move freely. Inside a cage, the driver's helmet will contact one of the bars. The factory seatbelt has no pretensioner calibrated for the increased occupant loads of a caged car at track speeds.
When you add a cage, you must add a proper racing seat and a properly installed racing harness. These are not optional additions — they are the components that make the cage functional as a safety system rather than dangerous as an obstruction.
Defines the survival cell geometry — the space the driver occupies during an accident. Main hoop height, door bar position, harness bar height, and the relationship between all bars are determined by the driver's seated position. The cage is designed around the driver, not the car. A cage that's correct for one driver's position may not be correct for a significantly taller or shorter driver in the same car. Driver body measurements are an input to the cage design, not an afterthought.
Must be FIA or SFI rated for the use case, physically sized to the driver for lateral containment, and mounted at the correct height to allow the harness bar to achieve the correct shoulder strap angle. Seat mounting plates and side mounts are fabricated to place the seat in correct position relative to the cage, the controls, and the driver's eye line. A seat that's correct in isolation may be wrong if it puts the driver too high for the harness bar geometry or too far back for the door bar position. The seat position is confirmed before the cage is finalized.
The crotch strap must anchor below the driver's pelvis, not at the front of the seat cushion. The sub belt must maintain continuous tension on the lap belt during a frontal impact. Shoulder straps must travel to the harness bar within the 3° horizontal window. Every strap must be routed and terminated correctly — no routing around edges that cut webbing under load, no wrapped strap ends that reduce rated load capacity. We verify installation geometry with the driver in position, in race gear, before the build is signed off.
DOM or Chromoly.
Specified by Class,
Not by Opinion.
Roll cage tubing material is a class rules question first and a preference question second. Most amateur road racing classes accept DOM mild steel as the baseline. Chromoly 4130 is required by some classes and preferred in others for its superior strength-to-weight ratio.
Consistent wall thickness due to the cold-drawing manufacturing process — mandrel drawing produces tighter dimensional tolerances than other tube manufacturing methods. Weldable with standard MIG process; does not require post-weld heat treatment for most cage applications. Good material availability and lower cost relative to chromoly. Appropriate for the majority of club racing and HPDE cage applications where chromoly is not specifically required. The industry standard baseline for most SCCA and NASA class specifications.
Higher tensile strength than DOM mild steel, allowing either reduced wall thickness (weight saving) or greater safety margin at the same weight — both meaningful for classes where weight is closely regulated or where the driver wants maximum structural margin. Requires TIG welding for best results — MIG welding chromoly without post-weld stress relief can produce brittle heat-affected zones. We TIG weld all chromoly cages using proper filler rod selection and controlled weld sequence to minimize thermal stress. Required for some NHRA speed-based classes and some road racing classes; preferred by most serious road racing builds where weight matters.
On Mandrel Bending & Full Penetration Welds
Tube bending is done on a mandrel bender — not a rotary draw without mandrel support. Mandrel bending maintains the tube's circular cross-section through the bend. Bending without mandrel support collapses the tube slightly at the bend radius, reducing wall thickness and creating a stress concentration at the point where bending stress is highest in a crash. A cage with collapsed bends has compromised structural integrity at the worst possible locations.
All joints are fish-mouthed — contour-cut to match the receiving tube's radius for full surface-area contact at every joint. A fish-mouthed joint has contact around the full circumference of the tube. A joint without it has a gap the weld must bridge rather than penetrate. All welds are full penetration, inspected before the car leaves. No tack welds passing as finished welds. No cosmetic overlay passes hiding inadequate penetration underneath.
Measurement to
Tech Inspection.
Every Step Documented.
Five stages. Nothing bent until the design is confirmed. Nothing signed off until the safety system is verified with the driver in the car.
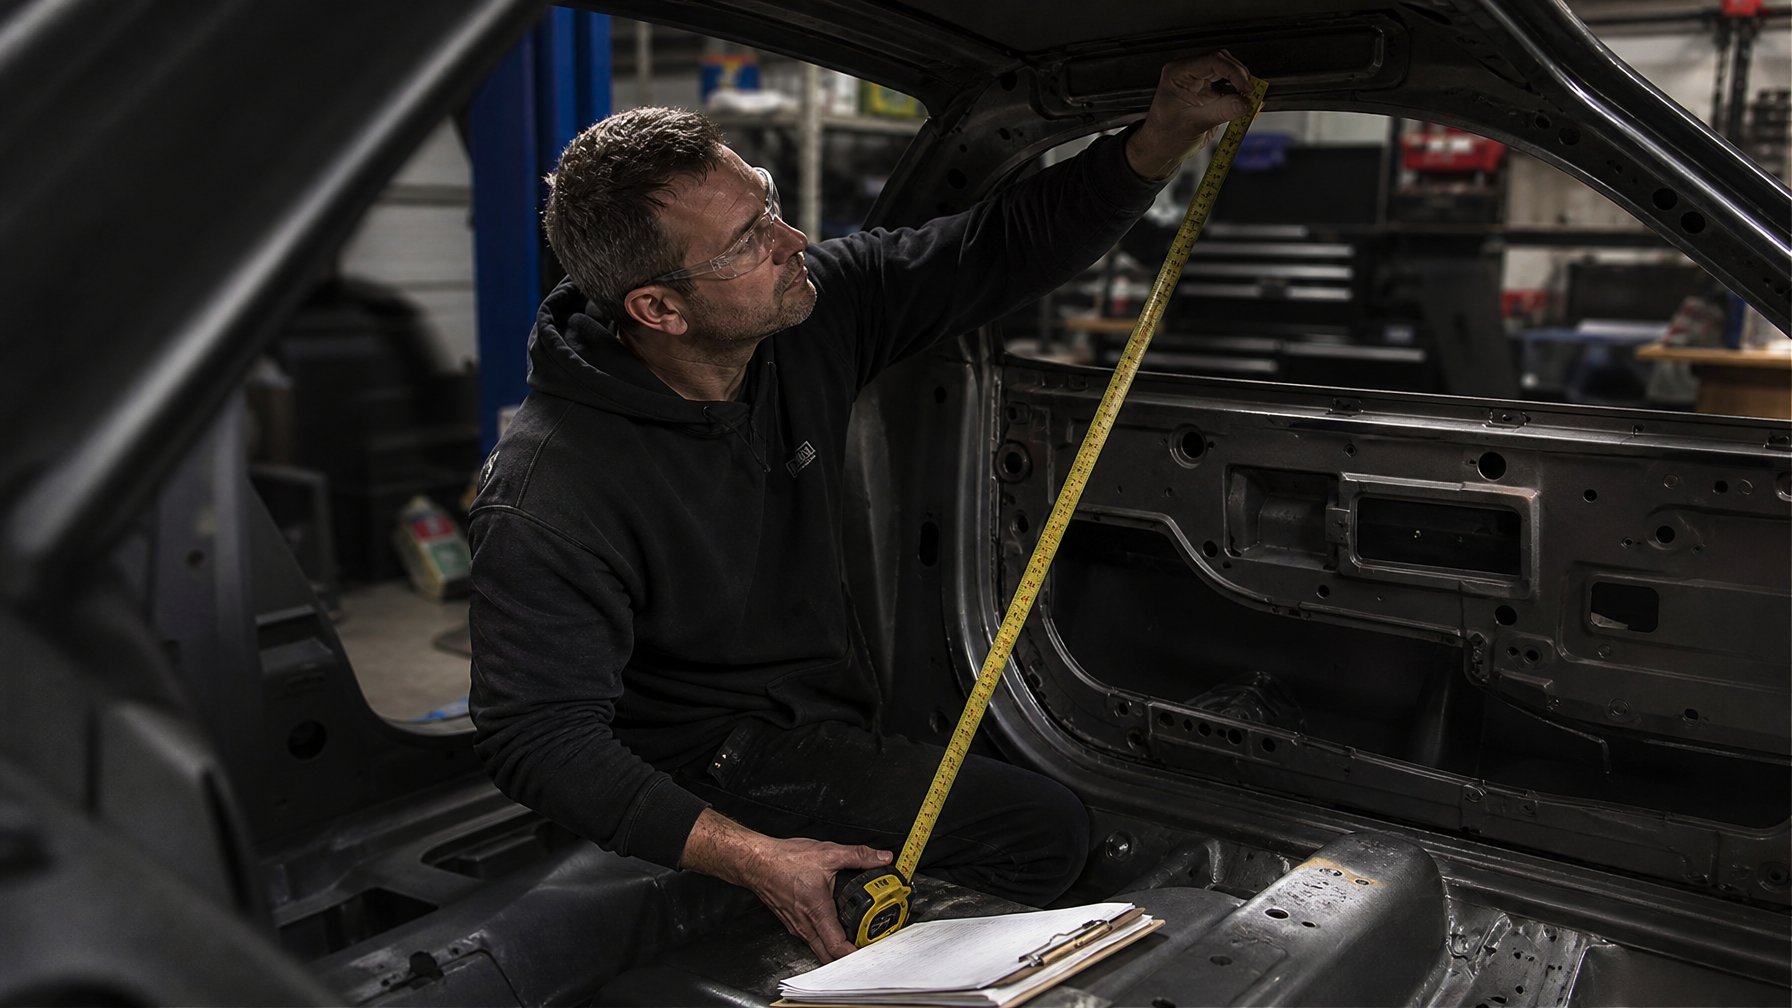
The driver sits in the car in race gear — or in the seat and position that will be used in the finished build — and we take measurements. Seated helmet height establishes minimum main hoop height. Shoulder position in the seat establishes harness bar height target. Hip position establishes seat mounting height and crotch strap anchor relationship. We confirm the class rulebook requirements for the series and establish whether any planned modifications conflict with those requirements. Nothing is bent until the design is agreed on and the driver has confirmed the measurements are correct for their gear and position.
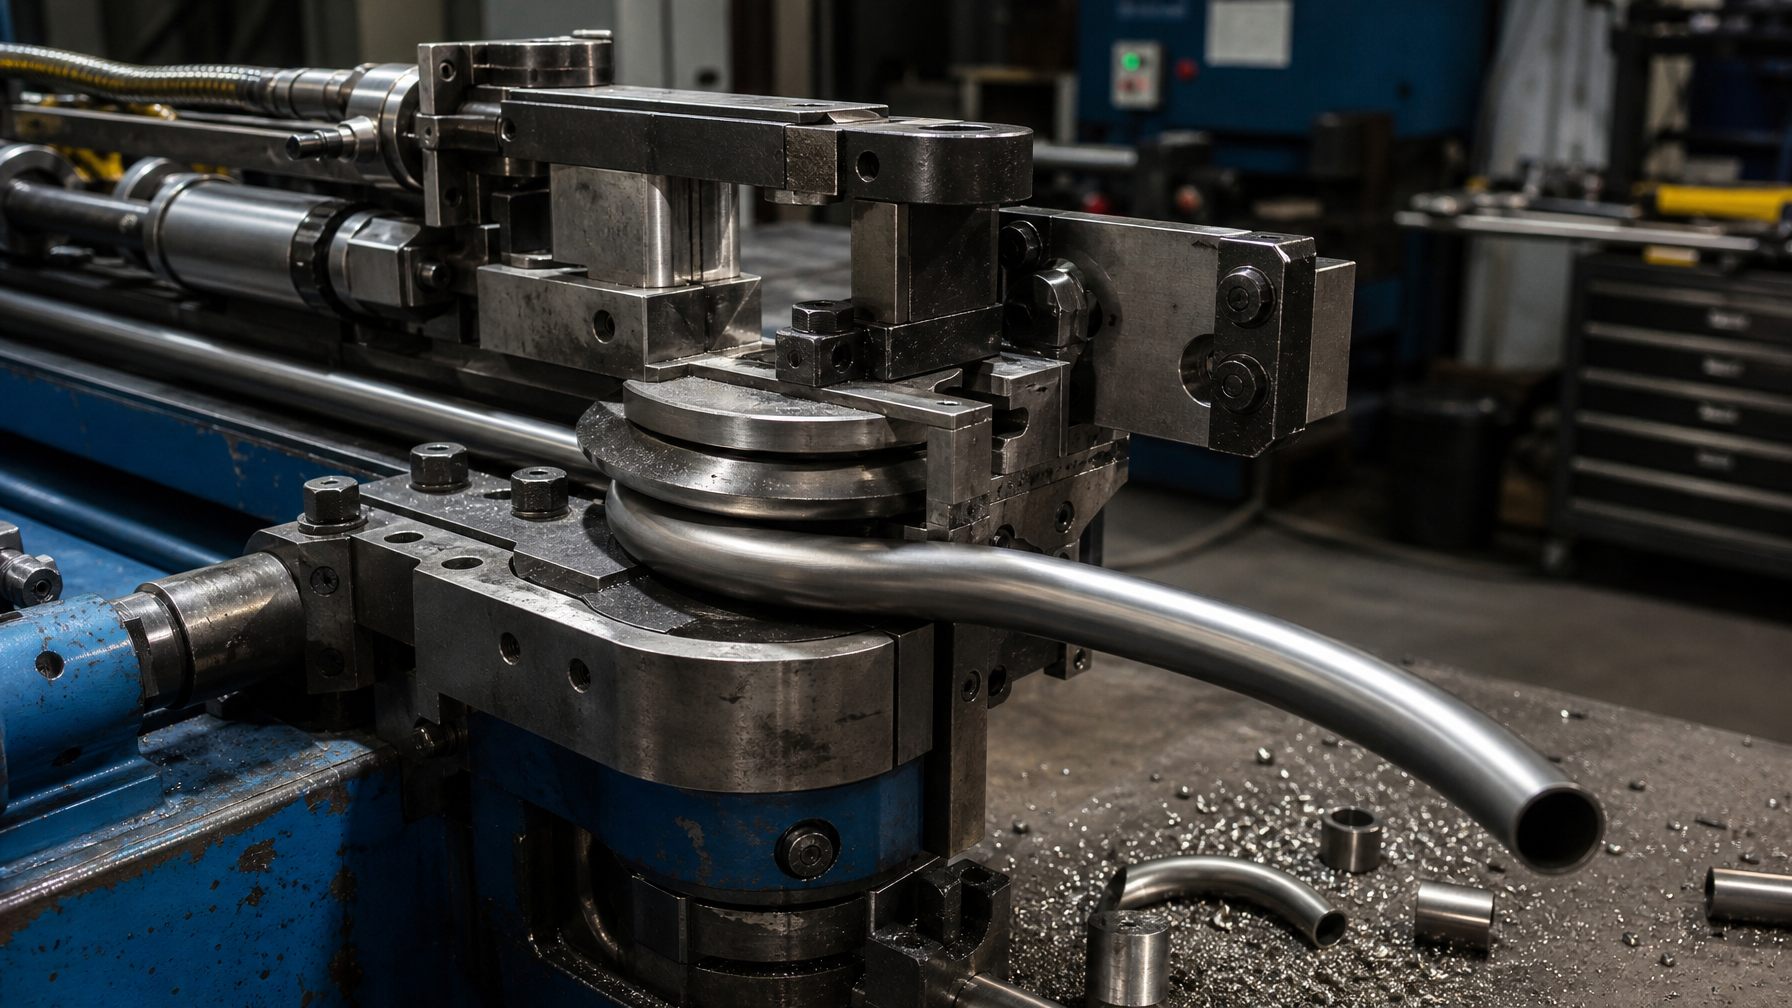
Tubing is cut and bent on a mandrel bender to fabricated dimensions. Every bend is checked against the design template — angles are not eyeballed. Tube ends are fish-mouthed (contour-cut to match the receiving tube's radius) for full surface-area contact at every joint. A fish-mouthed joint has contact around the full circumference; a joint without it has a gap the weld must bridge rather than penetrate. Fish-mouthing takes time. It's the difference between a weld that has the full tube cross-section bearing load and a weld that's a filler gap with metal around it.
The cage is assembled in the car in tack-weld position — enough welds to hold geometry while the full weld sequence is completed, but not so much heat that thermal distortion has locked in errors. All geometry is verified in tack-up: main hoop height, A-pillar angle, door bar height and position, harness bar height. These measurements are checked against the design targets from Stage 01. Any adjustments are made before the final weld sequence begins. Changes after full welding require cutting and remaking the affected section — we don't do that.
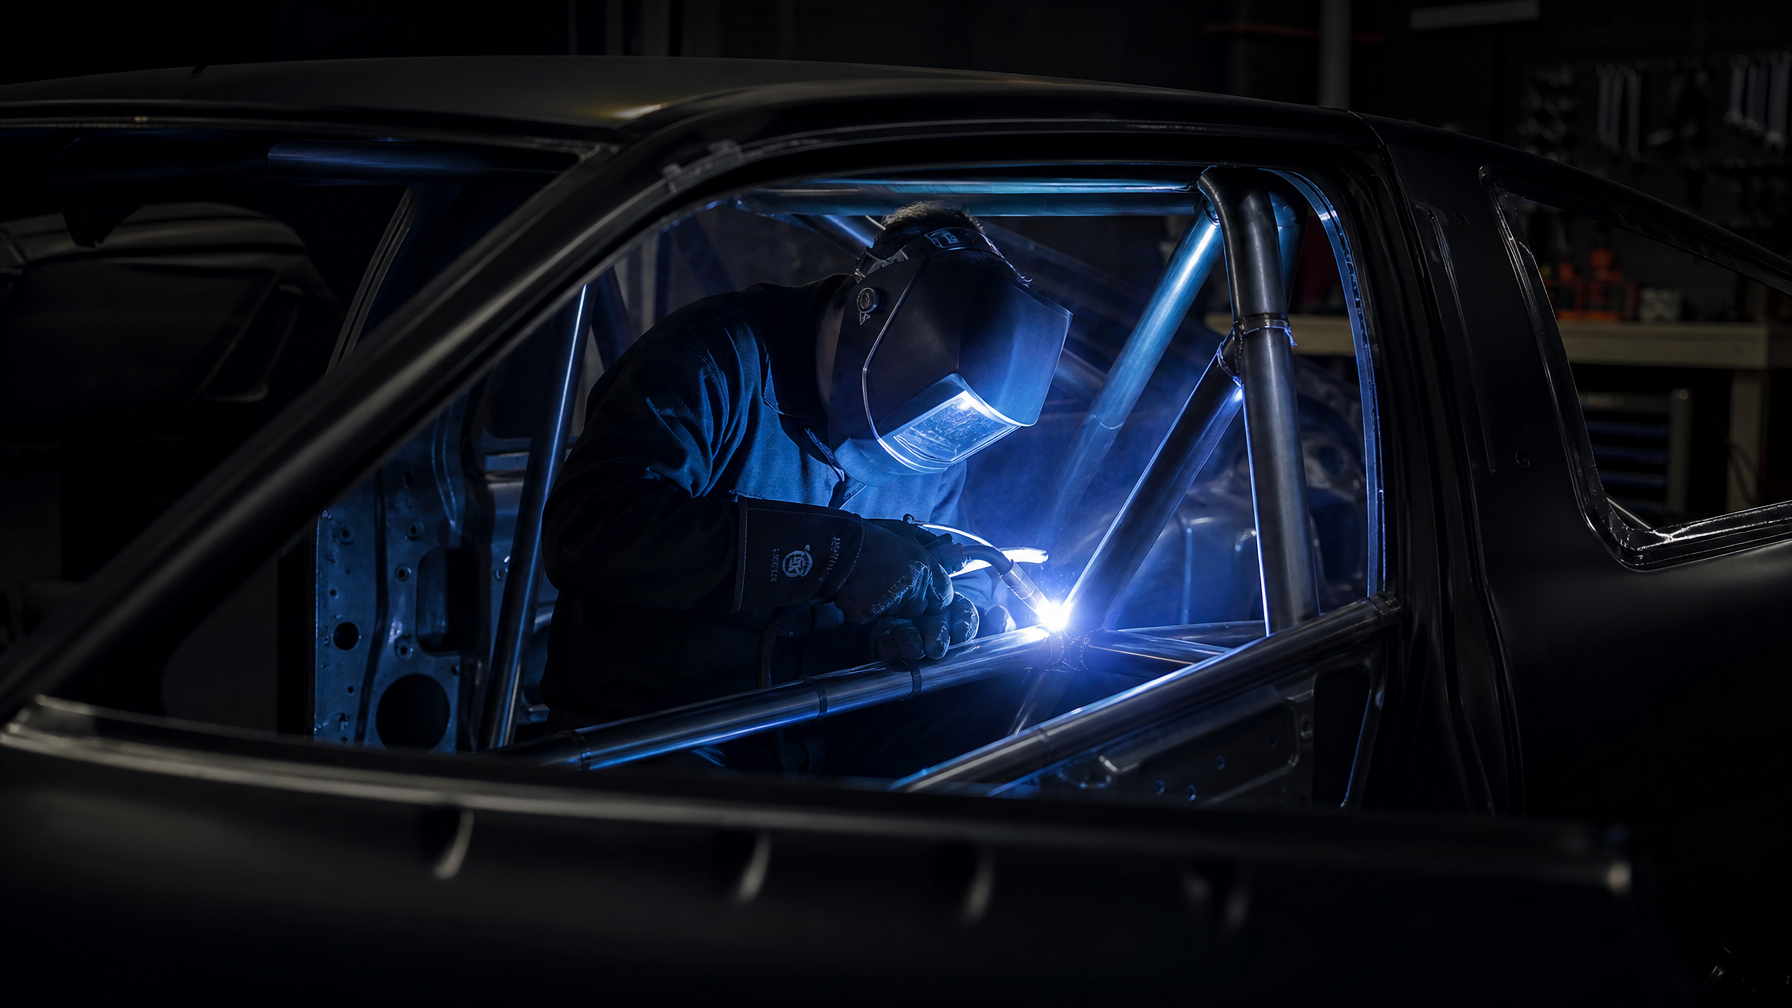
Full penetration welds completed in a controlled sequence designed to minimize thermal distortion — alternating sides, structural joints before cosmetic passes. DOM cages are MIG welded with ER70S-6 wire. Chromoly cages are TIG welded with ER80S-D2 or equivalent filler rod. Attachment plates are fully welded to both the cage tubes and the chassis structure — floor sheet metal plus reinforcement plates where the platform warrants it. All welds are visually inspected. The car does not leave the shop until every weld has been reviewed against the weld quality standard.
Harness bar is verified for correct geometry with driver in seated position. Seat is mounted and final position confirmed relative to controls, sight lines, and harness geometry. Racing harness is installed, routed, and tensioned with driver in position — shoulder strap angles verified. Window net installed and latch tested. Cage padding applied to all bars within the helmet strike zone. If fire suppression is in scope, nozzle placement is confirmed for engine bay, footbox, and cockpit coverage. A final documentation package is prepared for tech inspection. The car leaves with a safety system that has been verified with the driver in it — not just installed and handed over.
We Don't Build Cages for Photos.
We Build Them to Pass Tech and Hold Up
When They're Needed.
The difference between a fabricator who builds cages and one who builds safety systems is the same as the difference between a shop that installs parts and one that builds complete cars. We understand what the cage has to do — because we build the rest of the car too.
We build to the specific rulebook for the series the car will run — current year, specific class, actual document. A cage that fails tech inspection is worse than no cage: it delays the build, costs money to modify, and reveals the fabricator didn't do the prerequisite work. We do that work before the first tube is cut.
We design the cage, select the seat, and position the harness bar as a single integrated system. Harness bar height is a calculated result of driver measurements and seat position — not a default placement. Drivers leave with a safety system where every component was selected and positioned in relation to every other.
Mandrel bending maintains tube cross-section through bends. Full penetration welds inspected before the car leaves. Fish-mouthed joints. Properly sized attachment plates welded to the chassis structure, not just the floor sheet metal. These aren't differentiators we invented — they're the basic standards for structural fabrication that not every cage shop follows.
We weld both. DOM cages are MIG welded with proper filler selection. Chromoly cages are TIG welded with appropriate filler rod and weld sequence to minimize heat-affected zone brittleness. The correct process for the material — not the process the shop is most comfortable with regardless of application.
We build cages on cars we've also tuned, boosted, and set up on suspension. We understand the full picture of what the car is doing and where it's going — a 600 RWHP time attack car has different accident energy than a 200 RWHP autocross car. That context influences cage design decisions. It carries through when the whole car is done in one shop.
We tell you what your build actually requires for the series you want to run, and what it costs, before the first tube is ordered. If your goals require a full cage with a racing seat and harness system and you came in asking about a bolt-in bar, that conversation happens in the consultation — not after we're halfway through a build and the scope has expanded without warning.
Safety Fabrication FAQ
The questions we answer before every build. The answers that actually matter.
Ready to Build a Car
That Protects You?
Tell us the car, the series, and what stage the build is at. We'll scope the system before anything is ordered.
Tell Us About Your
Safety Project
Safety fabrication conversations require more detail than most builds. Tell us the car, the series and class you're building for, and what stage the build is at.
We review every submission and respond within one business day. Safety fabrication conversations benefit from as much detail as you can provide upfront.

IRON RIDGE MOTORSPORTS